Process maps can do one of two things.
They either sit in a forgotten folder gathering dust.
Or they become a living, practical tool that saves time, removes waste, and helps teams work better.
The difference?
It’s not the software.
It’s how you build them.
After years working in business analysis and digital transformation, I’ve learned what separates helpful process maps from visual clutter.
Here’s a step-by-step guide to creating process maps that actually drive efficiency—and get used.
🧠 Step 1: Understand the Real Purpose
Process maps aren’t just for documentation.
They help you:
- Visualise how work really gets done
- Spot bottlenecks, redundancies, and delays
- Improve handovers between teams
- Align people on current and future-state processes
- Support requirements, training, and onboarding
If your goal is workflow improvement, not just compliance, your approach has to be practical.
👥 Step 2: Talk to the People Doing the Work
Don’t build maps in isolation.
Sit with frontline users.
Ask:
- “What do you do when X comes in?”
- “What slows you down?”
- “Who do you pass it to next?”
Avoid relying only on managers or existing SOPs.
They often describe the ideal—not the reality.
Real efficiency starts with real insight.
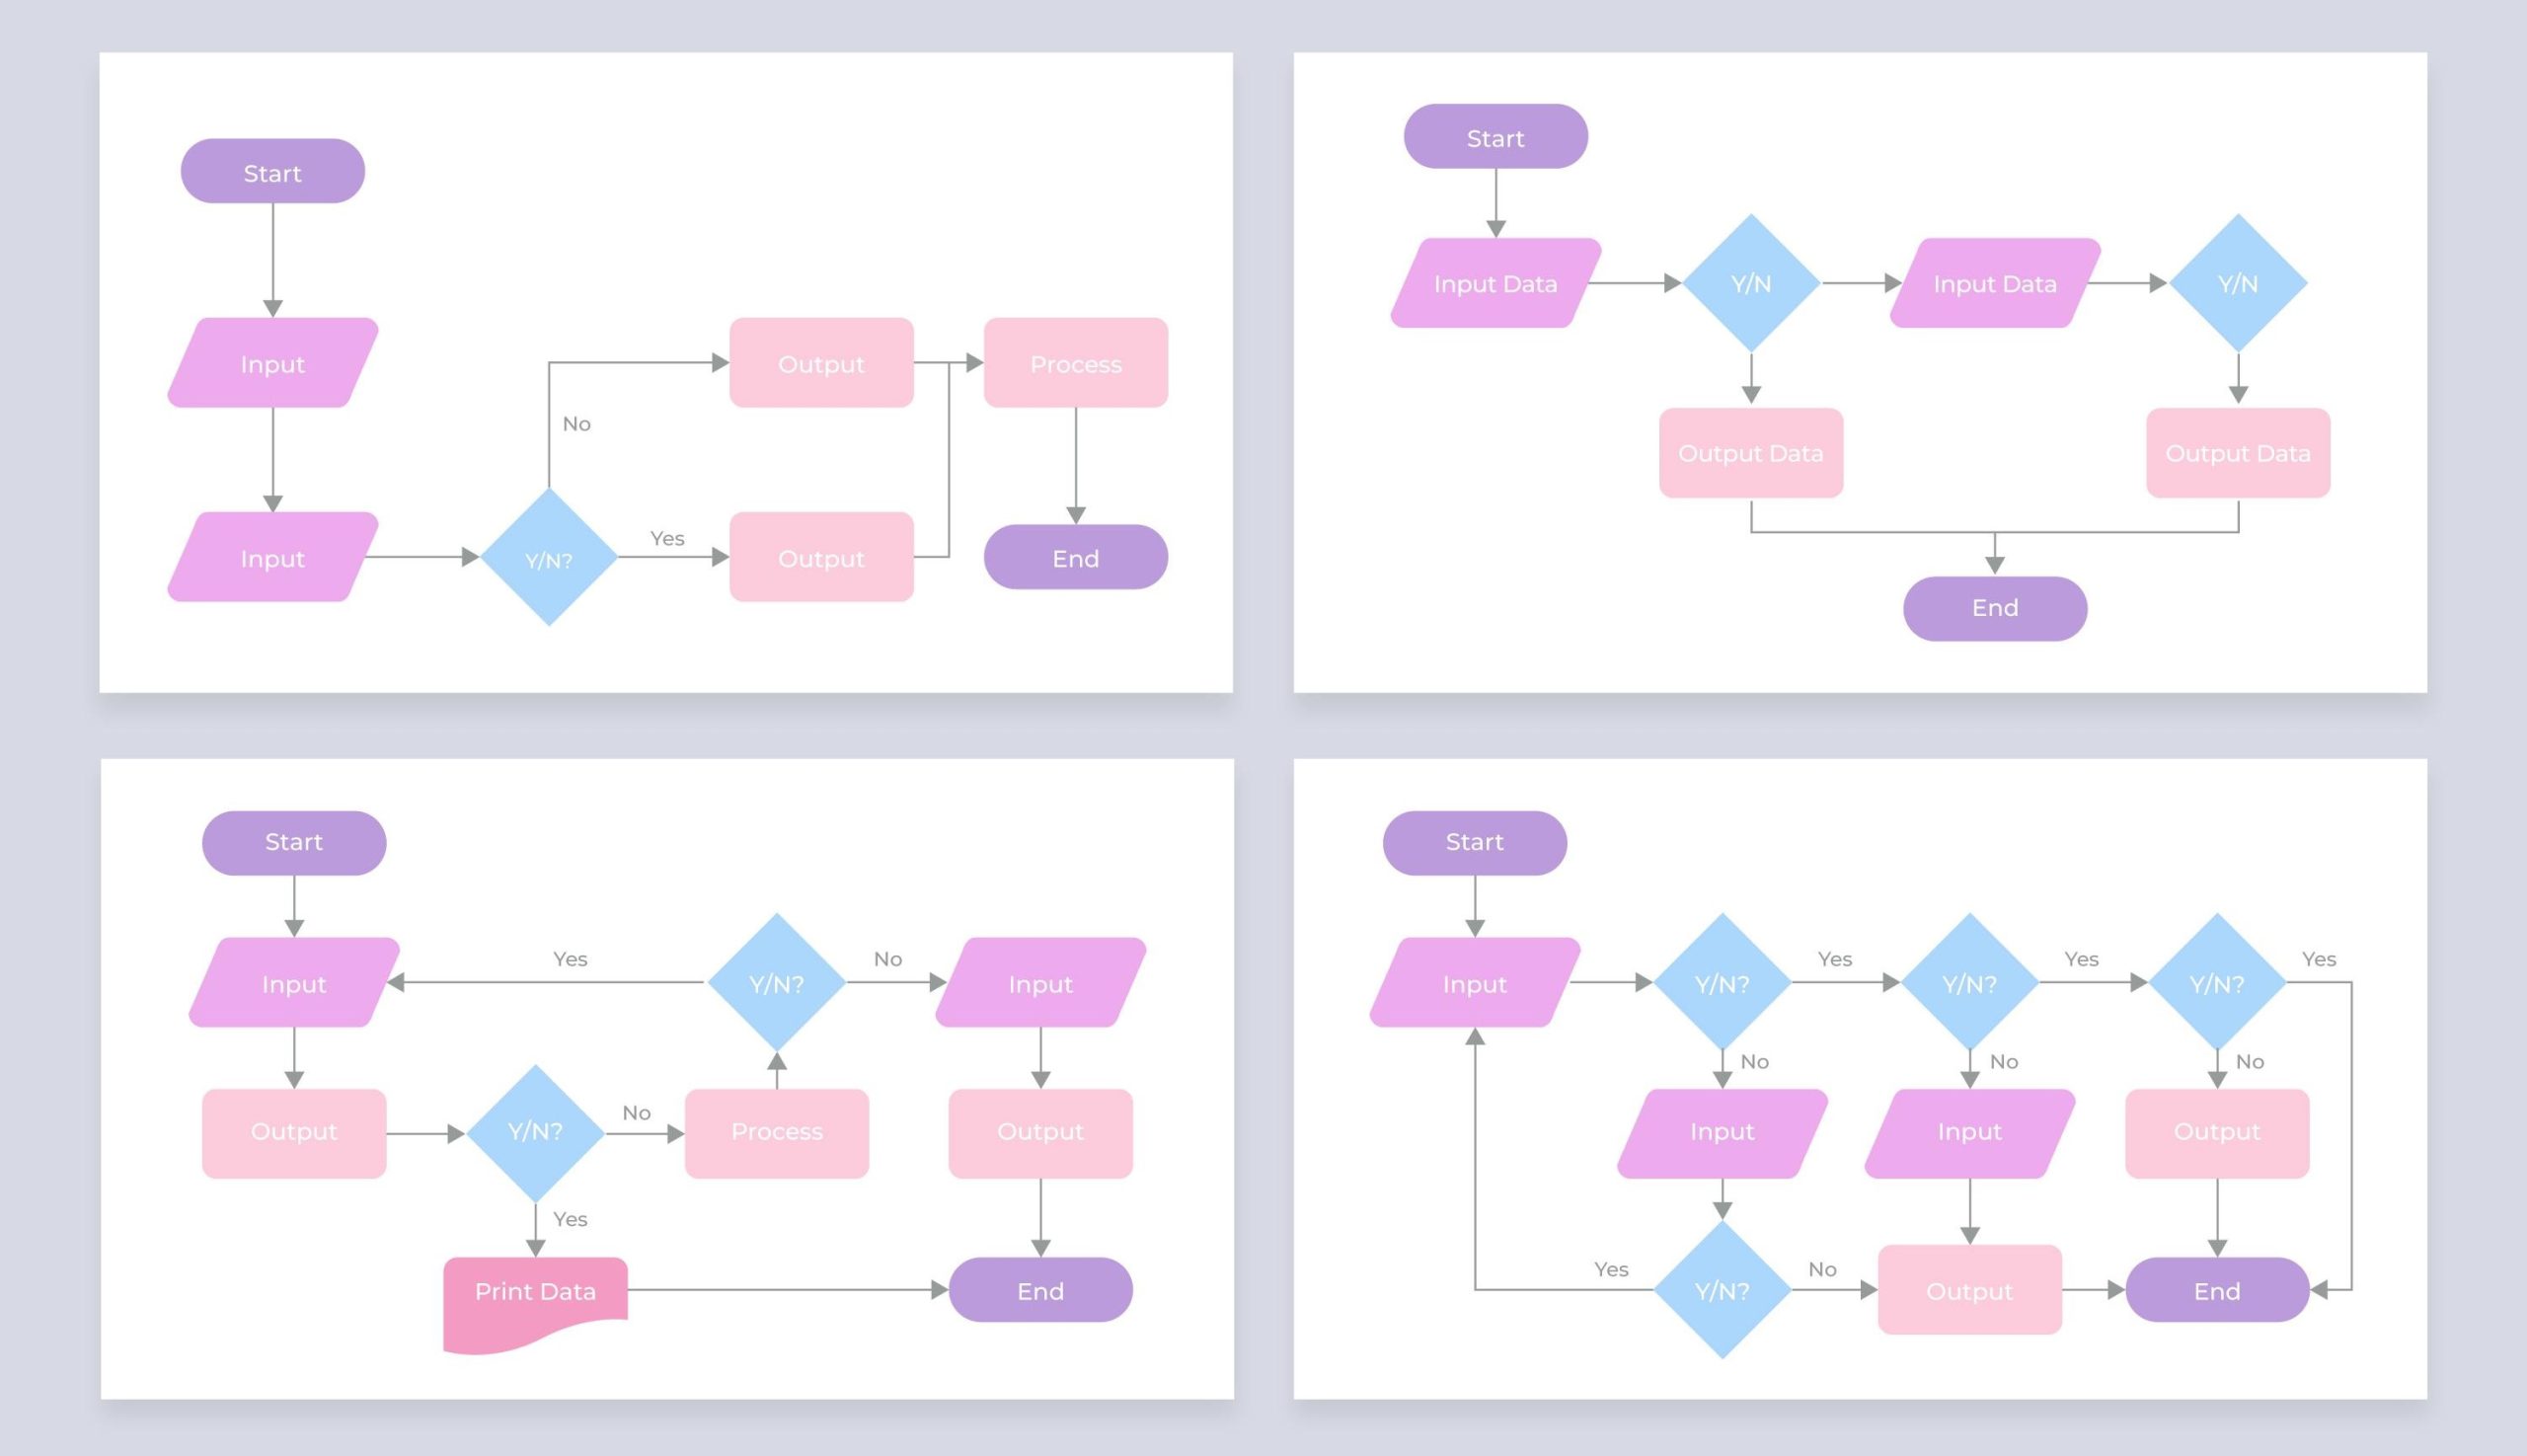
✍️ Step 3: Map the As-Is Process First
Start with the current state.
Use simple swimlanes to show who does what.
Keep it high-level to begin with.
Then go deeper into exceptions and variations.
Tools I use:
- Miro or Lucidchart for live mapping
- Visio or Draw.io for detailed versions
- Microsoft Lists or Excel to track steps alongside metrics
A good as-is map gives you the foundation to build smarter workflows later.
🔧 Step 4: Look for Inefficiencies
Once the as-is map is done, review it with the team.
Ask:
- Where are delays?
- What steps add no value?
- Where do errors often happen?
- What’s being done manually that could be automated?
Look for:
- Redundant approvals
- Rework
- Duplicate data entry
- Poor handoffs between teams
Highlight these areas before redesigning anything.
🧩 Step 5: Use BPMN or Standard Notation (If Useful)
If your audience is technical or if the map will support automation or system design, use BPMN (Business Process Model and Notation).
BPMN helps:
- Show gateways (e.g. yes/no decisions)
- Define events, tasks, and subprocesses
- Create consistent, scalable maps for IT and development teams
But if your stakeholders aren’t familiar with it, keep it simple.
The best format is the one your audience understands and uses.
🏗️ Step 6: Build the To-Be Process with the Right People
Once gaps are identified, co-design the to-be process with your team.
Bring in voices from operations, IT, and leadership if needed.
Key principles:
- Remove unnecessary steps
- Automate where it makes sense
- Improve clarity and reduce handoffs
- Document decision points and exceptions clearly
Use the to-be map to support business cases, requirements, or new SOPs.
🔄 Step 7: Test the Process Map
Run simulations or walkthroughs.
Ask:
- “Can someone new follow this and know what to do?”
- “Are the roles clear?”
- “What’s missing?”
Good process maps don’t live in isolation.
They should feed into SOPs, training guides, and requirements documentation.
📈 Step 8: Keep It Alive
Don’t treat process mapping as a one-off exercise.
Embed it into your change management and continuous improvement plans.
- Schedule review dates
- Assign process owners
- Track changes over time
When process maps evolve with the business, they stay valuable.
✅ Final Thoughts
Process mapping isn’t just about drawing nice diagrams.
It’s about improving how work flows through a business.
When done right, it:
- Builds clarity
- Reduces waste
- Improves collaboration
- Supports digital transformation
Whether you’re using BPMN for system design or simple swimlanes for team training, the goal is the same:
Better processes, fewer delays, and smoother handovers.